|
|
|
|
|
GoFlight TQ-6 Flaps/SpoilersFor this tutorial, I'm using FS2004 (FS9) and the aircraft is the default Boeing, 747-300.
REQUIREMENTS:
DEFINITIONS:
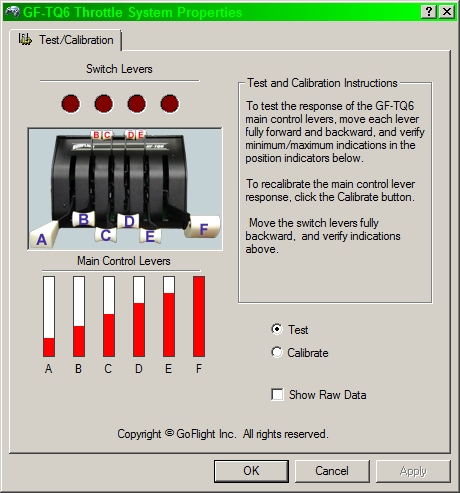
CALIBRATION: If you have not done so, you will need to calibrate the TQ-6 within Windows. The calibration window is accessible from the Windows Control Panel (Gaming Devices) or through Flight Simulator's (FS) Calibrate button.
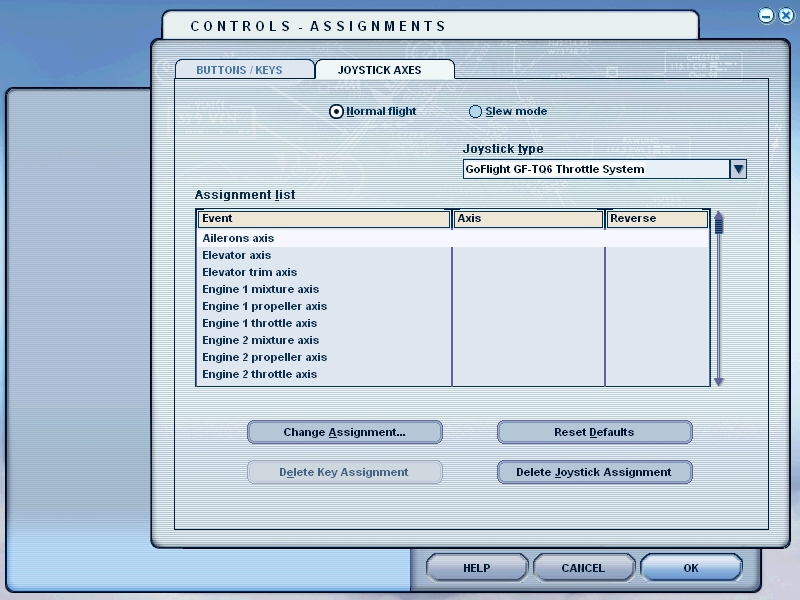
ASSIGNMENTS: We are assigning the Flaps function to a lever on the TQ-6. This can be done several ways. But, since we want to use the Detent abilities of FSUIPC, it is critical that assignments made through Flight Sim (FS) are removed.
If you are having trouble with FS remembering your axis assignments, or lack there of... There is a manual work around. Open "My Computer" and navigate to your FS9.cfg file. Mine is located in the "C:\Users\[USERNAME]\AppData\Roaming\Microsoft\FS9" directory.
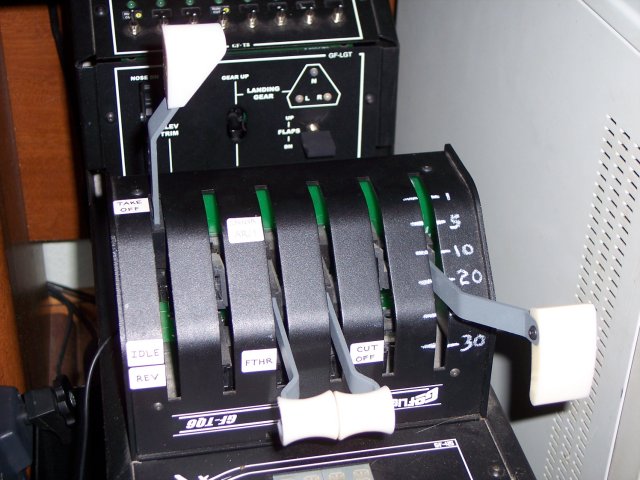
This is how my TQ-6 looks for JetLiner use. I say JetLiner because I use the "Profile Specific" option available in FSUIPC. If you don't know what I'm talking about, you'll need to research that on your own, sorry.
FSUIPC: Open Flight Sim, load your aircraft of choice. Location and weather data does not apply so I suggest selecting an area with low detail to speed load time.
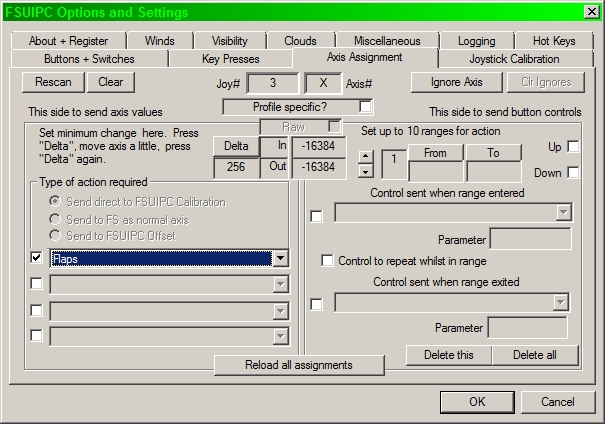
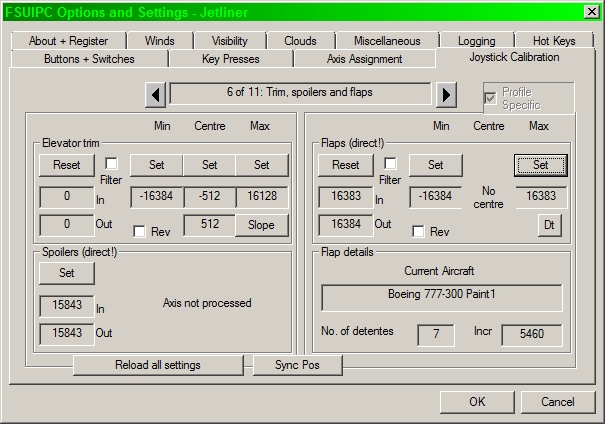
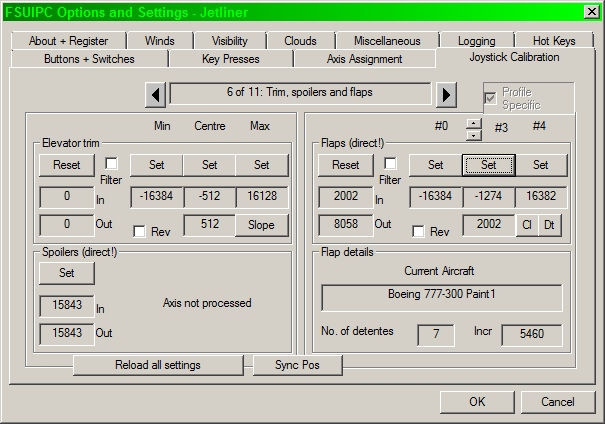
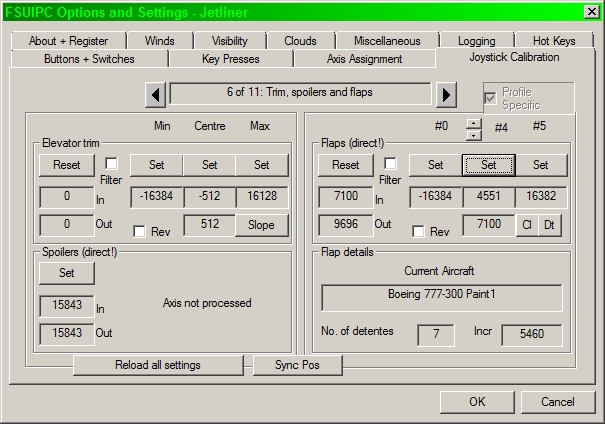
As you can see in the image below, the range of motion for my TQ-6 Flaps lever is from -16384 to 16383. Meaning the lowest number the TQ-6 puts out is -16384 and the highest number is 16383.
Click ok to close the FSUIPC interface window and verify your aircraft's lever moves in the same direction as your TQ-6 lever. I have my TQ-6 mounted upside down. NOTE: If the aircraft is not responding correctly... Open the FSUIPC interface window and click the Rev checkbox. This next part is to ensure you set the detents correctly. Some people have problems because they place the TQ-6 lever at the detend position and make the assignment As displayed in the top portion of the image below. THIS IS NOT CORRECT. FSUIPC looks at the "zones" of the lever. Remember my lowest and highest numbers... FSUIPC breaks this entire range into sections called "zones".
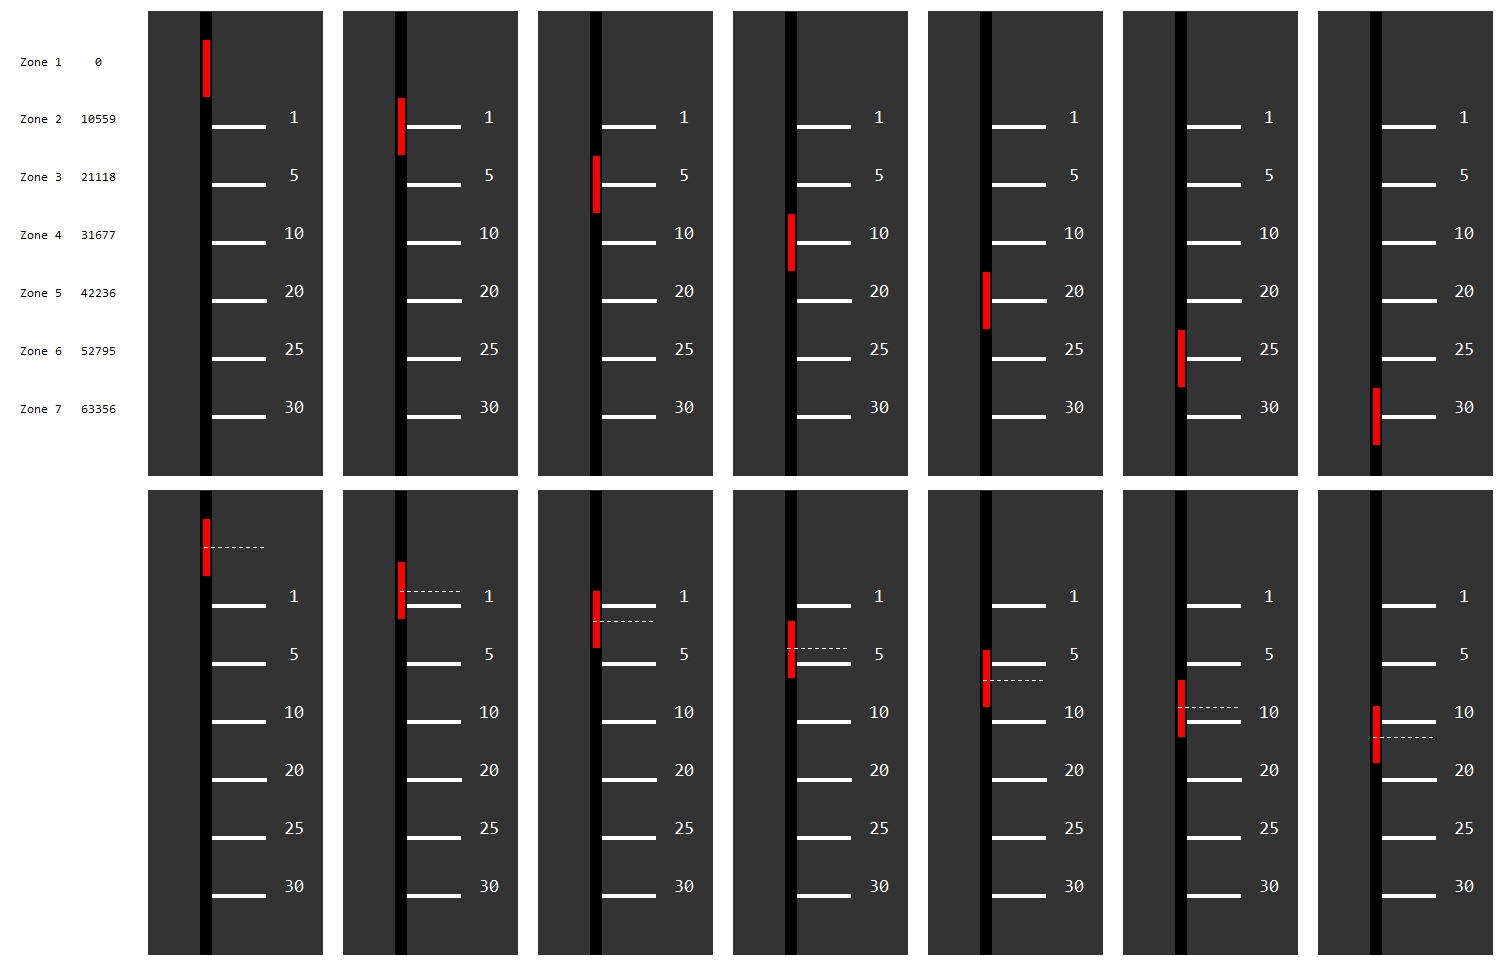
Referring to the image above, look at the lower part to see how I "set my zones". If you have a hard time seeing this pic, clicking on it will display the pic full size. Open the FSUIPC interface... Page 6 and click on the "Dt" button. This activates the "detent zones". As you can see in the image below, FSUIPC initially thinks the first zone is the entire range -16383 to 16383.
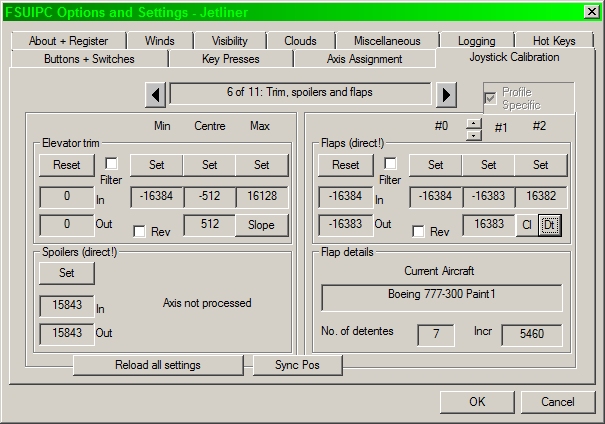
You have just set your First or #1 "zone"
Click the Up arrow, above the center set button to select the second zone.
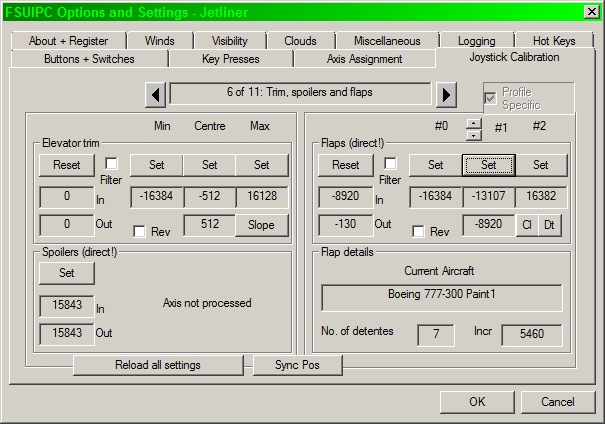
Click the Up arrow, above the center set button to select the third zone.
Repeat this sequence until you have set the SECOND TO LAST zone. There is no need to set the last zone because FSUIPC knows, if the lever is below the last zone, it's in the next zone. I'm including the remaining images so you can see the progression of how the zones are assigned.
When you have made the last assignment. Click OK, closing the FSUIPC interface and compare how the aircraft responds. You should now be able to look at your TQ-6, move the lever into the desired position and see that the aircraft's lever is in the correct place. For question, comments, additions or corrections... please contact me at skittles@anadrac.com. |
|
|